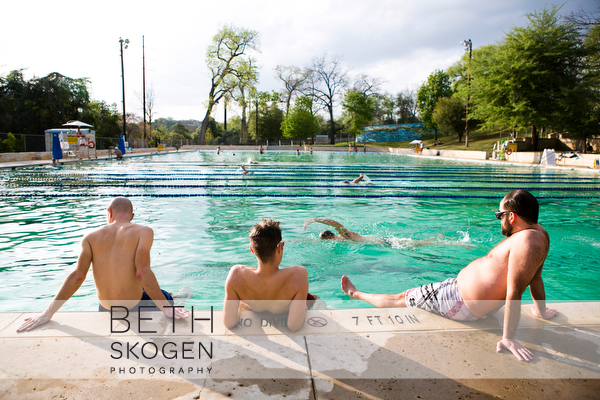
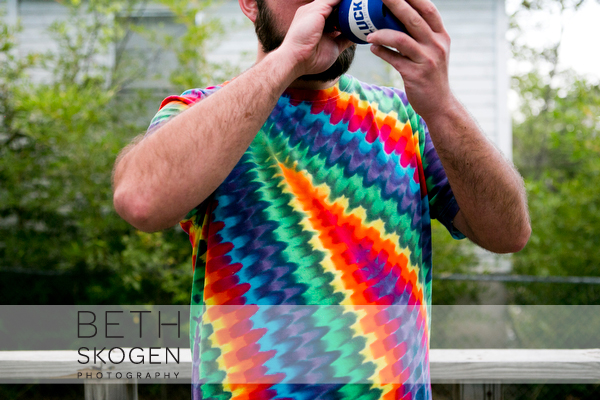
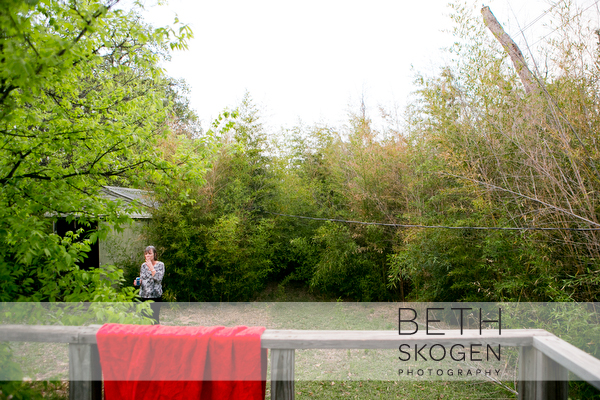
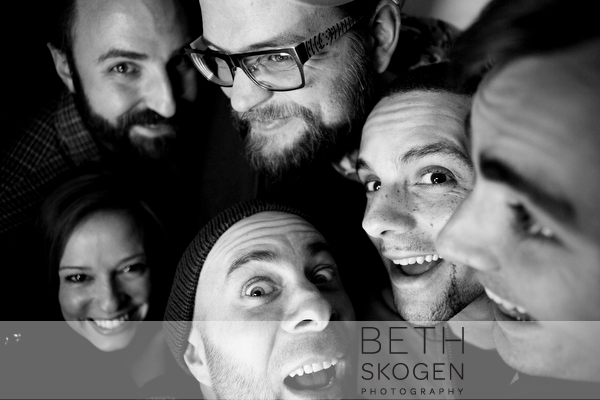
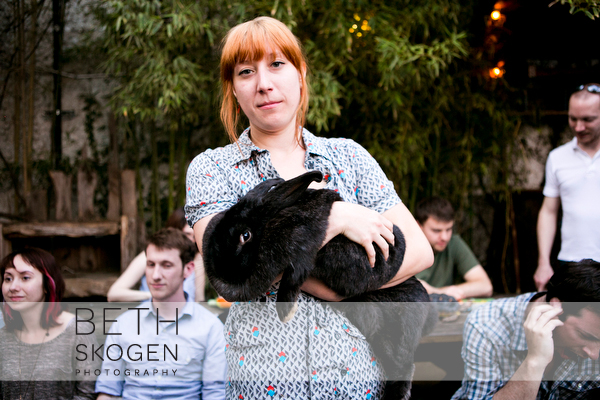
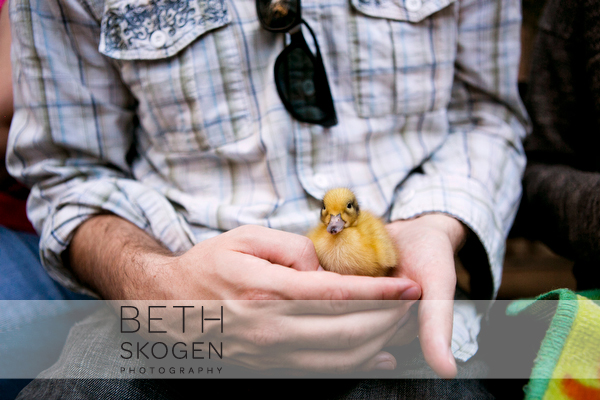
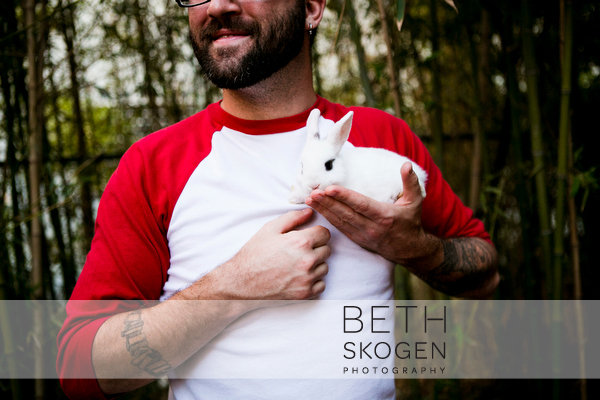
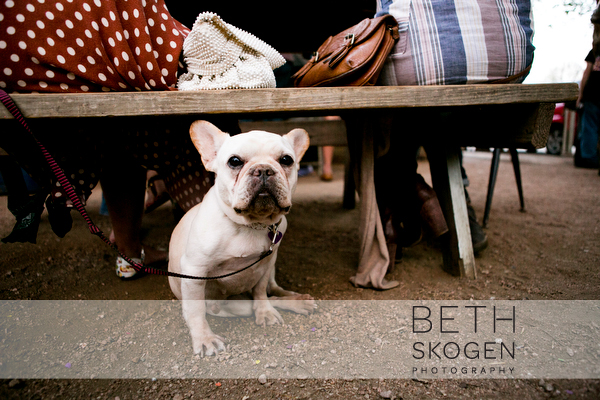
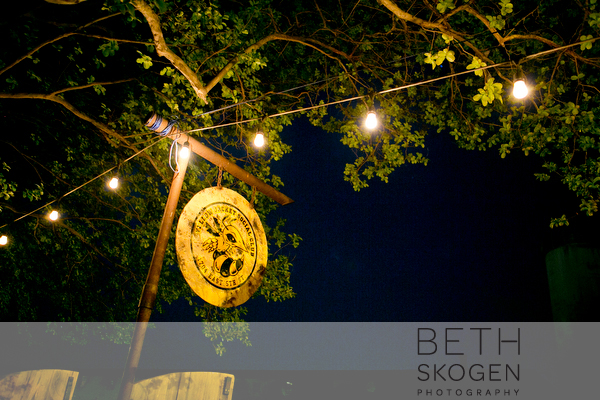
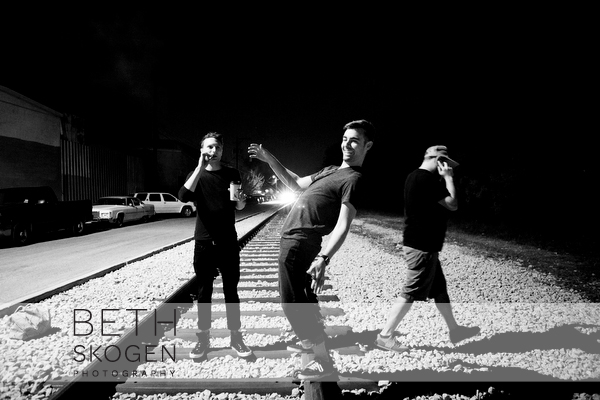
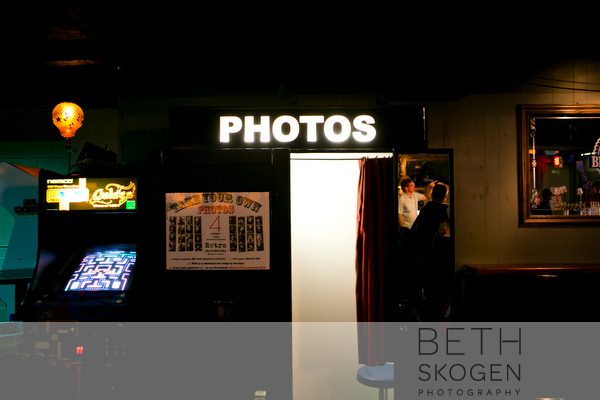
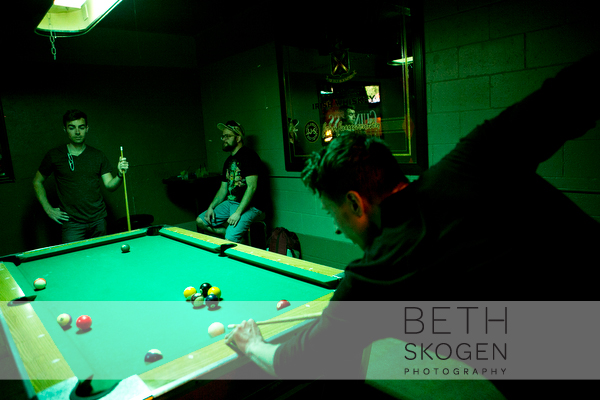
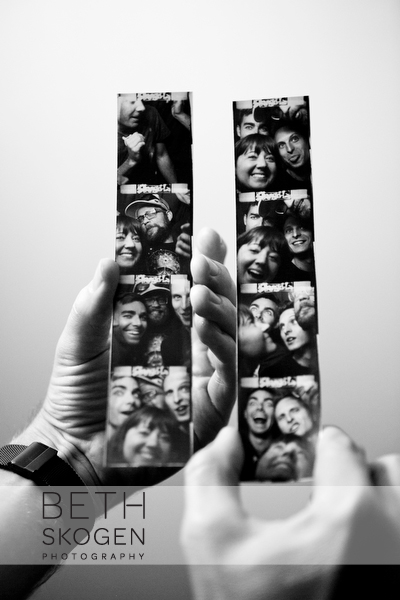
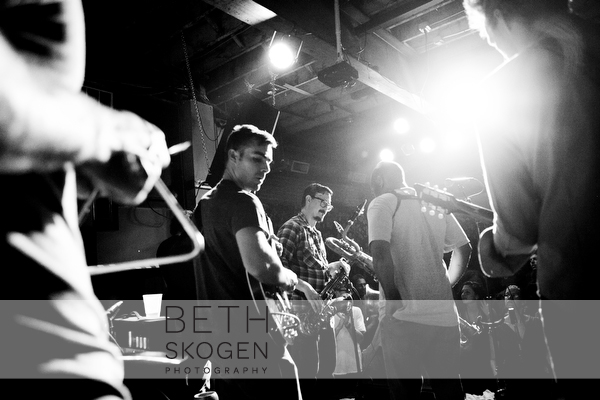
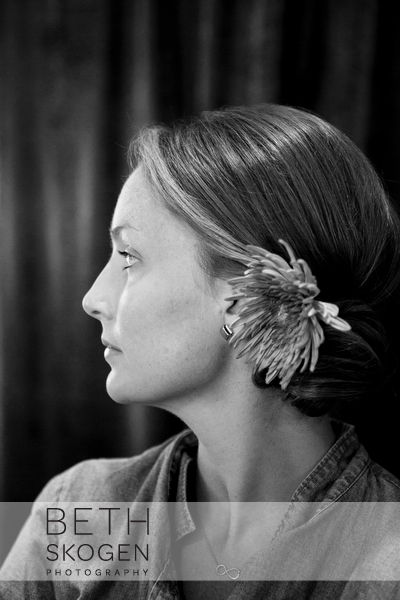
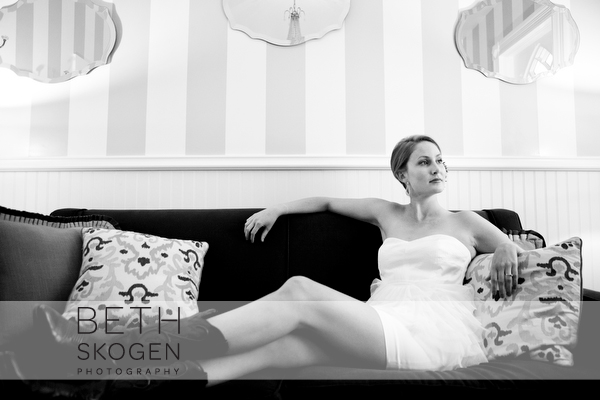
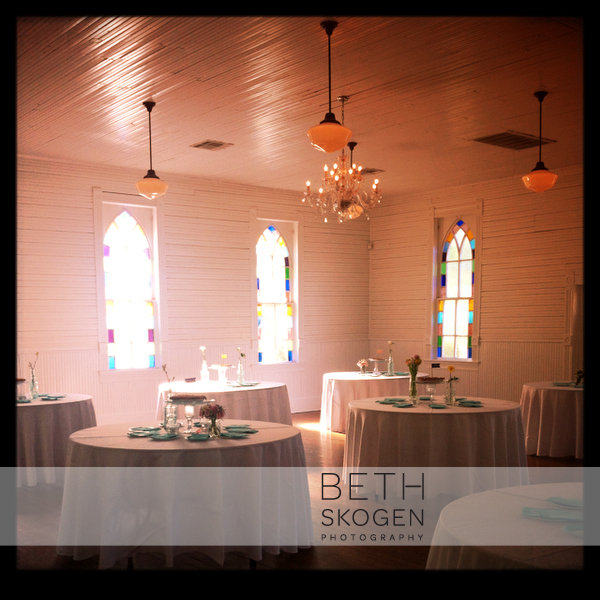
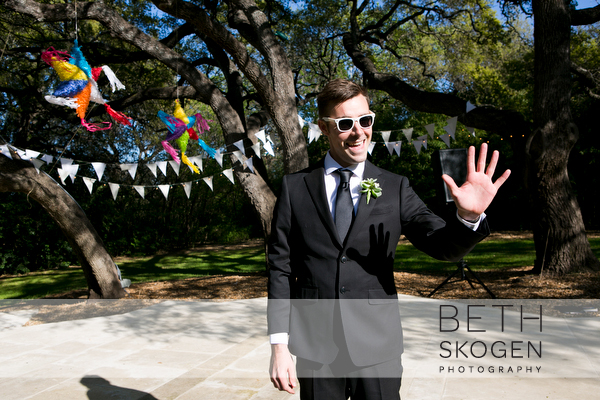
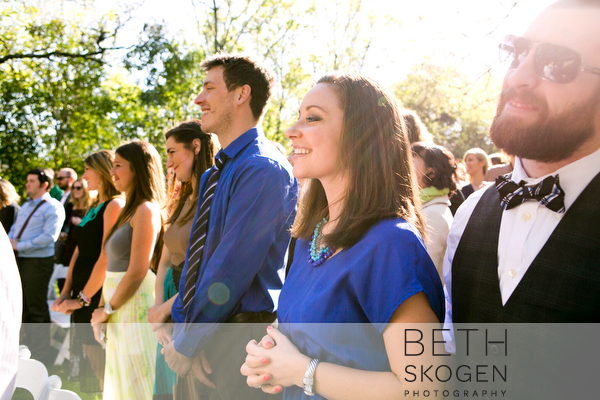
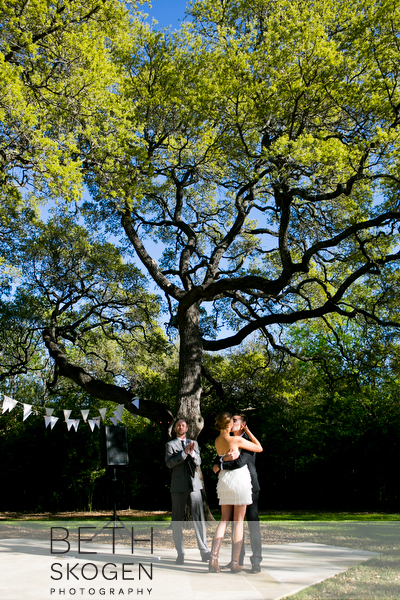
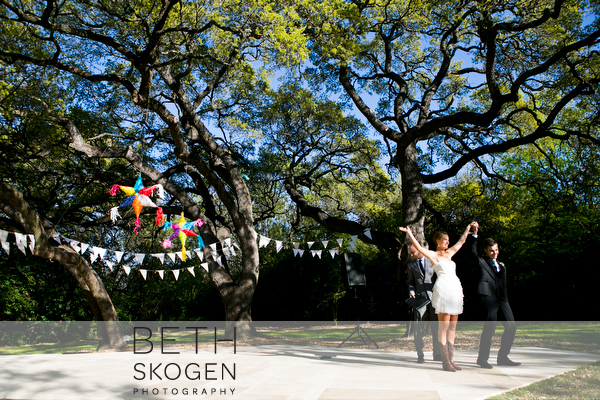
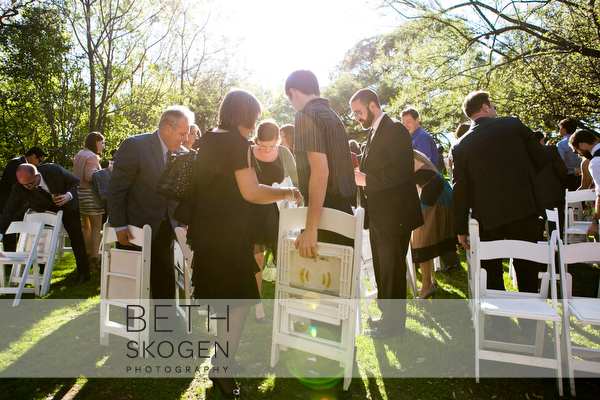
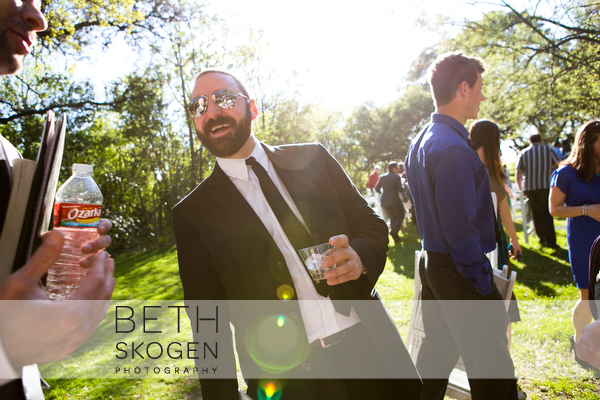
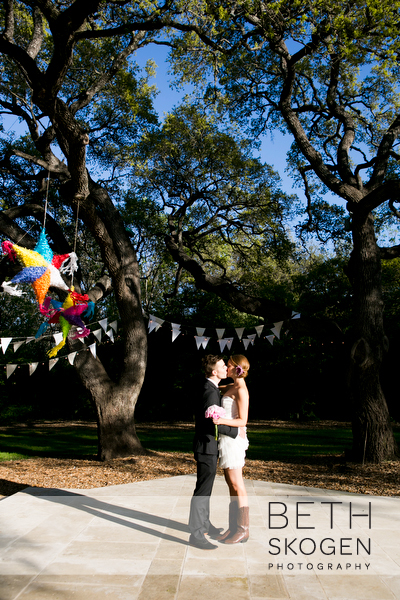
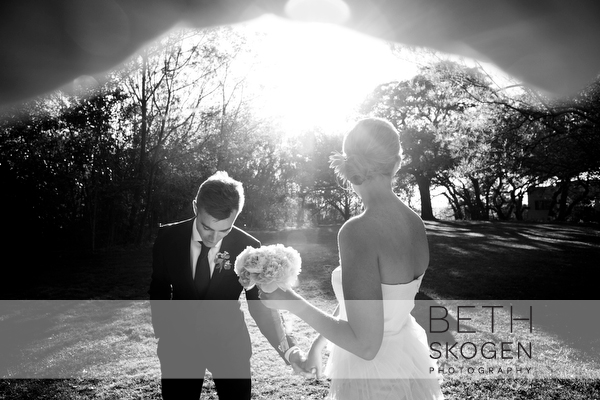
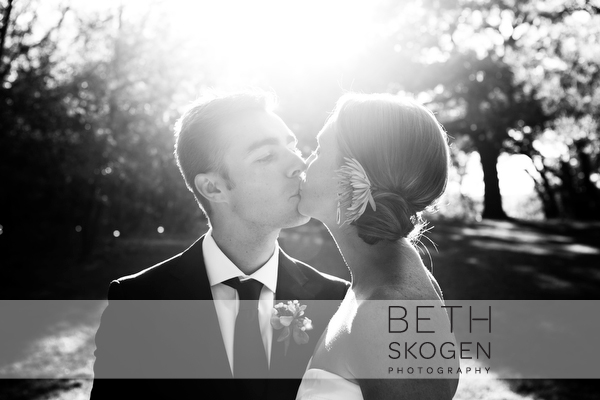
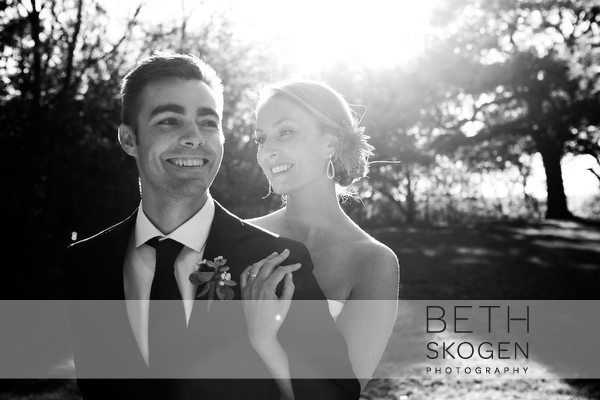
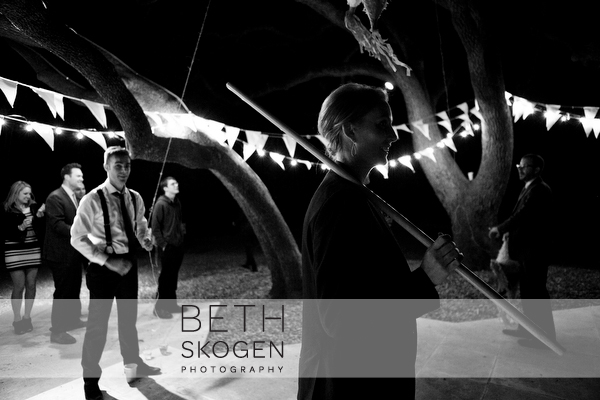
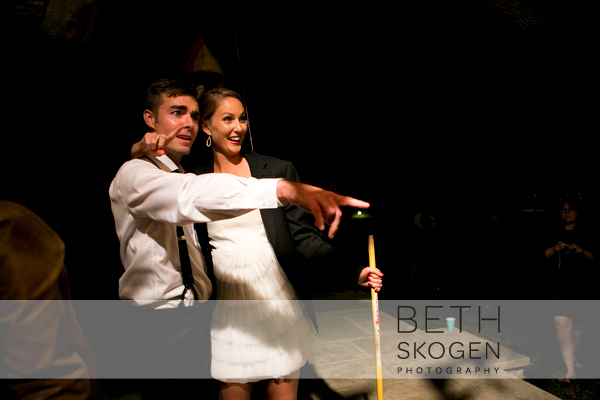
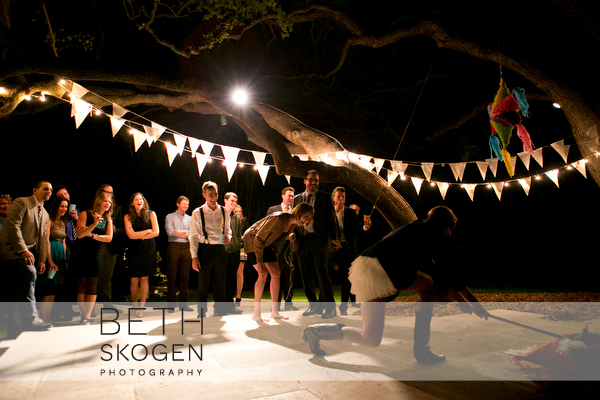
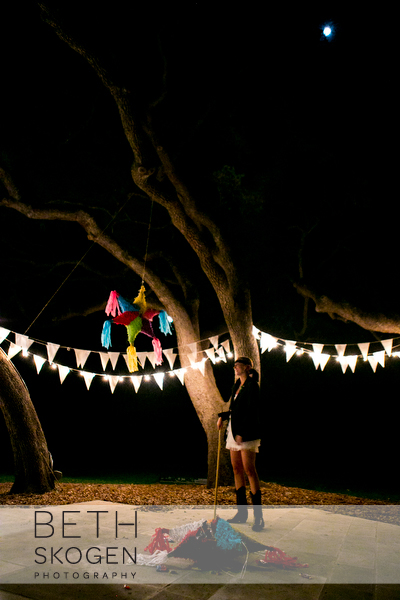
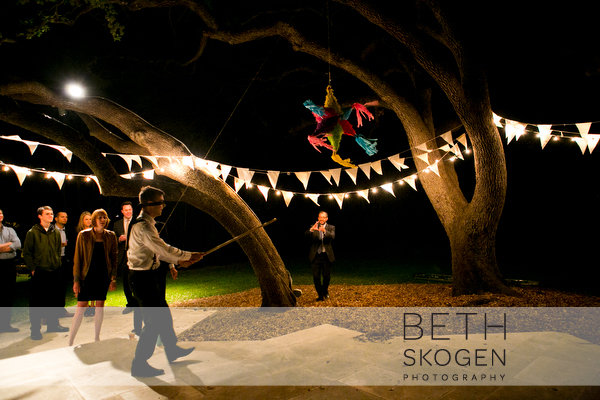
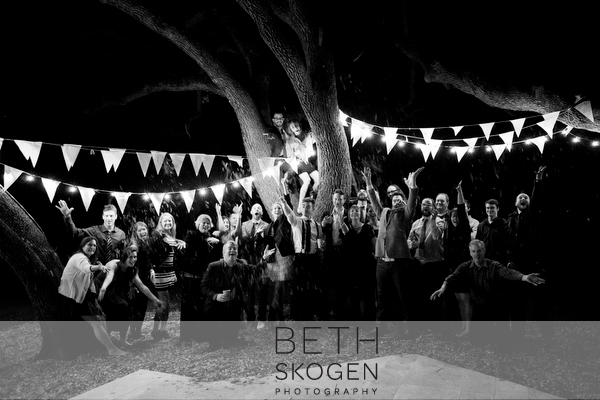
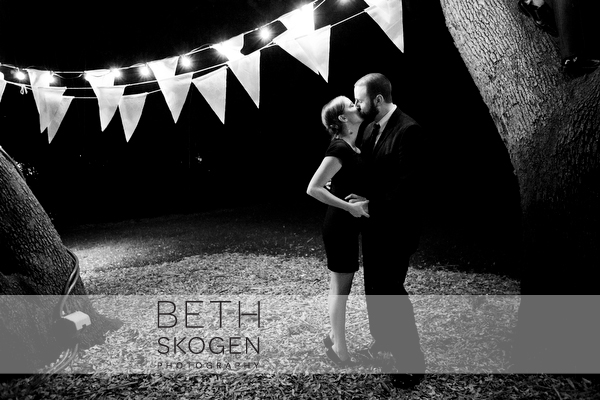
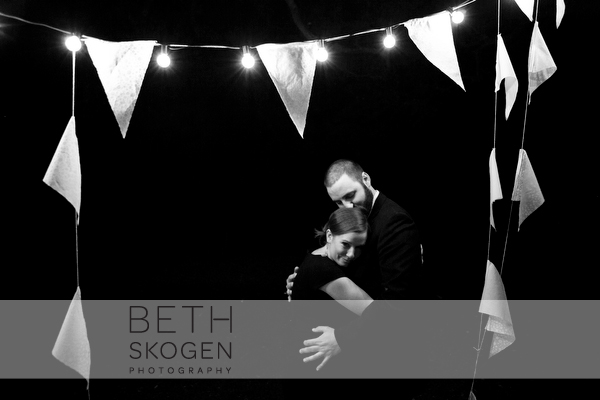
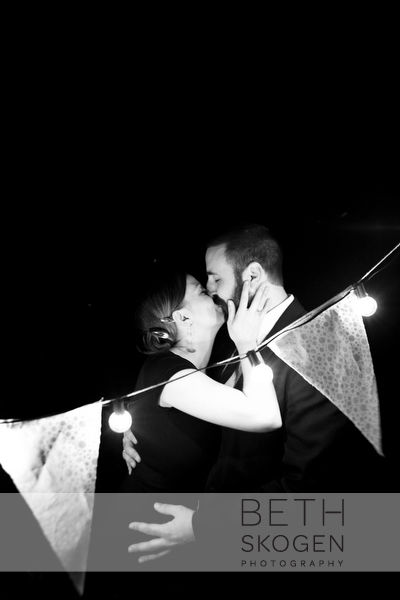
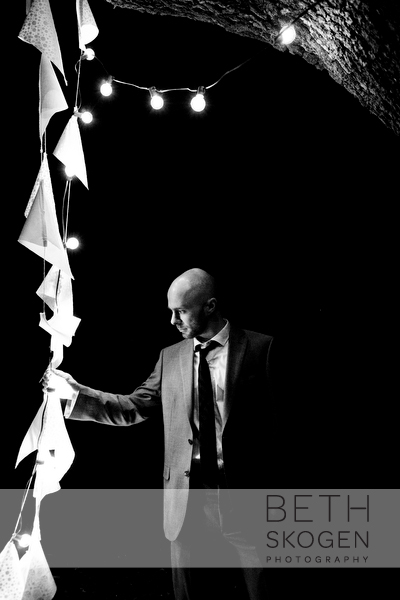
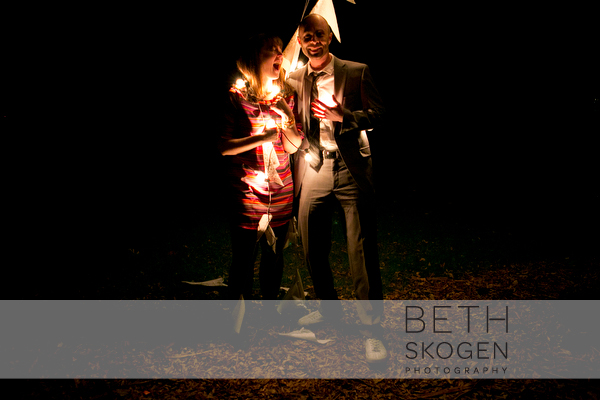
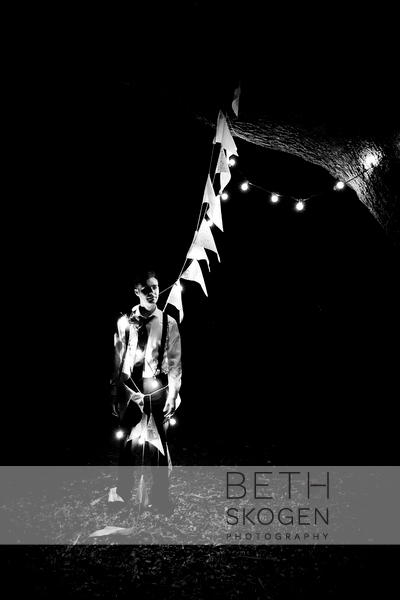
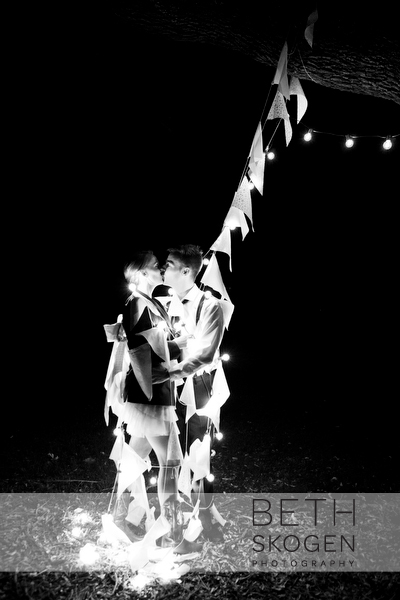
David here, Beth’s indomitable brother. We traveled to Austin for 3 days to bear witness to a massive celebration of life and love: the wedding of our good friends Aaron and Chelsey. The city was slowly recovering from SxSW, and backward haircuts roamed the streets at night, listless, forlorn and lost. But the weather was swoon-worthy, as was the food, as was the music (Aaron’s band Hard Proof played to a packed house Saturday night, and I was lucky enough to sit in on triangle and cowbell… you laugh, but I worked those boys out), and as was the amazing vibe flowing from the betrothed.
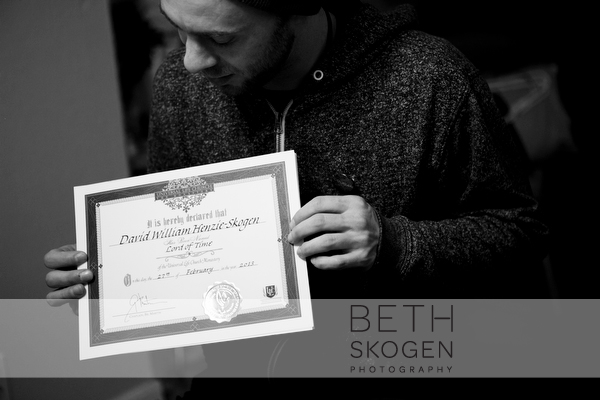
Aaron and Chelsey, besides being the most perfect couple in the known universe, were always generous, heart-breakingly beautiful, and consistently hilarious. For me personally, it was a life high-point, as I was tapped to officiate the wedding. I was ordained on the internetz via the Universal Life Church Monastery of Florida (yup), and of the offered religious honorifics, chose ‘Lord of Time’ (so very apt). I couldn’t have been more honored to take part (and to watch two people, about whom I care so much, embark on their path as a married couple), and I’ll be forever indebted to them, as well as all our gathered friends and family, for such a blindingly wonderful experience. It felt like a once-in-a-lifetime weekend…because it absolutely was. Dx
I don’t think it’s a secret that I absolutely love my job. I am so inspired each day and honored that I am able to be creative and capture so many amazing moments, people and things in this world. But today I want to go beyond the camera and explain what comes after a photo session. I will also give tips and advice how to best protect your personal pictures and files.
First off, let’s talk about equipment and computer programs.
I use a Canon 5D Mark III with either a Canon fixed 35mm or 50mm lens. I used to use a Canon EF Lens 24-70mm f/2.8L all the time but realized I shoot better with prime lenses. On my iMac I use Photo Mechanic, Camera Raw and Photoshop. Here are some details on each one:
Photo Mechanic: Crazy fast; makes it so efficient to upload large files. Once you upload your photos to the program you can use colors and words to tag your photos and add metadata (specifics about the image or session). http://www.camerabits.com/
Camera Raw: We will talk file types later on, but the awesome thing about Camera Raw is that it holds true the integrity of the original file. The file quality is amazing and file sizes are large so the print quality remains high. Also in this program you can tone and color correct multiple images at once, which saves a lot of time.
PhotoShop: This is an amazing program and it really works for photographers. I like the file capability and ability to edit multiple images at once.
Let’s talk file type – so important!
Raw: I always shoot in raw. The file quality is the highest you can get. Raw means that it is minimally processed and keeps all the image data spot on and captures light most accurately. Raw files are often called digital negatives, meaning that you can’t print a Raw image, you have to transfer it to another file type. But by keeping a Raw version of an image, you will always maintain the integrity of the image, just like that of a negative.
JPGs: This is the best format to use when posting online. It reduces the file size, but takes away some of the quality of the image (which only really matters if printing in large scale). I’ll save high resolution files for clients to print with and low resolution files that they can post online that are saved in sRGB color space. The images will look more vibrant in sRGB than they would in the original color space.
After the shoot.
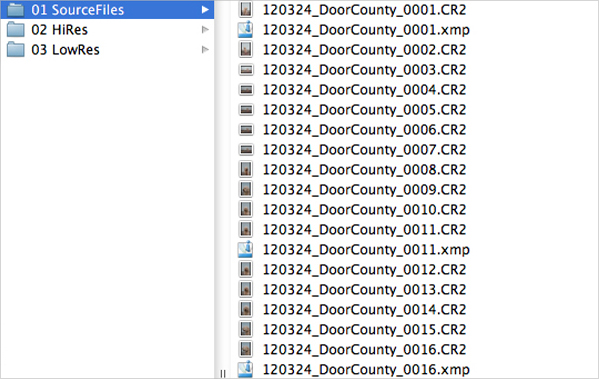
After a session comes lots of quality time with my computer. I transfer the files from my camera to my computer (I use CF and SD cards). Then I create a file folder on my hard drive (we will talk about space and storage in a minute). I have to say, the most important thing is labeling the folder appropriately. I have a lot of clients and I have shot so many photos, it is important to stay organized and be able to find a folder when needed.
I always start with the session date and follow-up with my subject name, so if the session was on March 24, 2012 and it featured my dog in Door County, Door County I would label the folder ‘120324 DoorCounty.’ I’ve been really fortunate to study alongside a lot of amazing photographers and this file naming convention was definitely a key take-away from those experiences. It makes it really easy to find the files you are looking for. Then, within that folder I make three folders titled 01 Source Files, 02 Hi Res and 03 Low Res. I drop the Raw images into the Source Files folder.
I am going to hijack the work flow discussion to chat about storage and data – such an important part of my job! One thing that I don’t think people realize is that camera memory cards do go bad, so it is important to replace them every year or two. I back up my images three to four times. Seems crazy, right? It might be, but you can never be too safe – the last thing you want to do is lose these important memories. I save all my files on my computer, external hard drives and online. I use Backblaze (www.backblaze.com). It is only $5 a month for unlimited storage and I would definitely recommend it. If you are a Mac user you can use Apple Time Machine, as well. Also, make sure to store at least one hard drive away from your personal computer in case of a fire or flood.
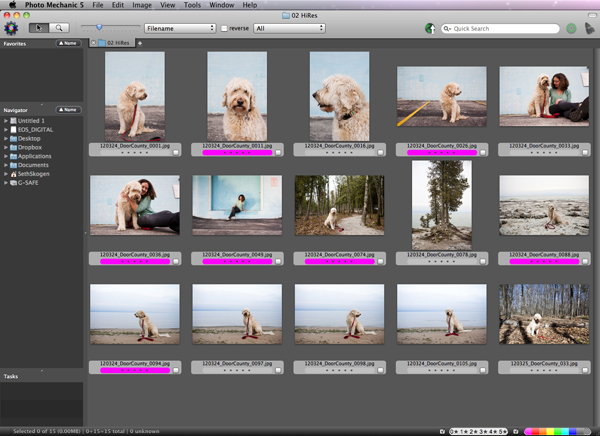
After the files are transferred I open Photo Mechanic. I look through all the images and “tag” the ones I want to share with the client. Once I have picked my favorites, I go through that list of images and tag (in pink!) my absolute favorites (these might be the ones I post on Facebook or send as a sneak peak to the client).
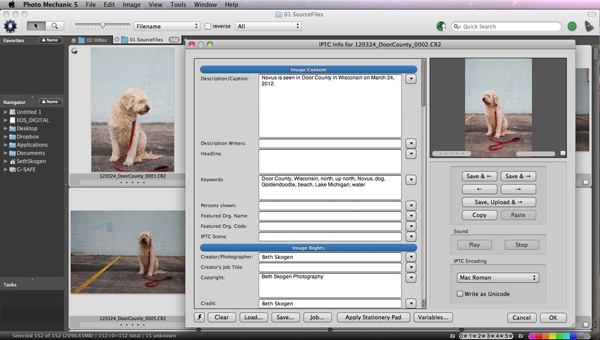
After sorting through the images, I rename the files and insert metadata information. As I mentioned above, metadata should include the image information—I always include my name, contact information, caption and keywords. Make sure to answer the ‘who,’ ‘what’ and ‘where.’ Going back to my session with Novus, I entered: Novus is seen in Door County in Sturgeon Bay, Wisconsin on March 24, 2012. The keywords I used are: Door County, Wisconsin, north, up north, Novus, dog, Goldendoodle, beach, Lake Michigan, water. That makes it easier to search for images months or years down the road. I think it’s important to note that all the metadata is taken off all images when I post online – the metadata is solely for my organization and indexing.
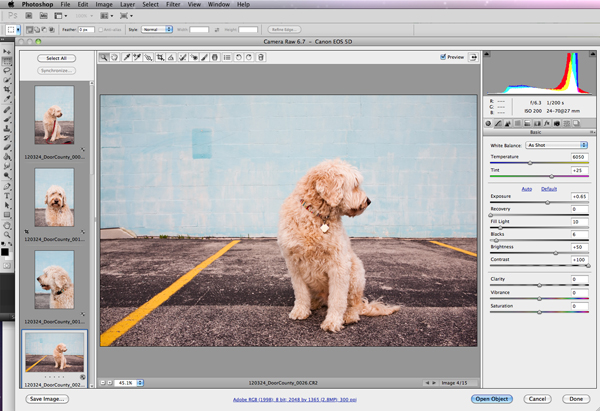
Then it’s time for PhotoShop. I open my favorites at once into the program and take some time to correct the tone, color and contrast of the images. As I mentioned above, PhotoShop is great because I can edit several images at once then just go through each image and then make specific tweaks, if needed. After that step I add those images to the Hi Res folder. Those files are the ones I upload to a password protected PhotoShelter account and share files with my client. Then I make smaller versions of these images and save to the Lo Res folder.
At this point I wait to hear feedback from my client on their favorites and the possibilities are endless; prints, canvases, photo books—there are so many fun and amazing things to do with your personal photos these days. And really, that is the most important part of the whole process!
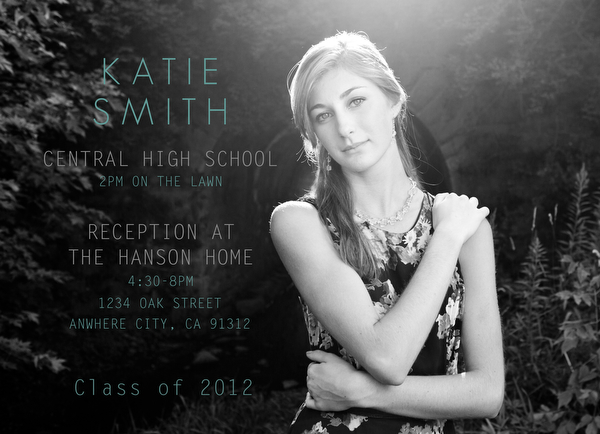
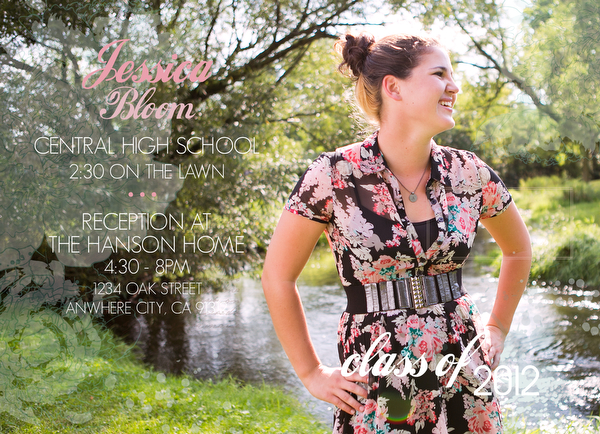
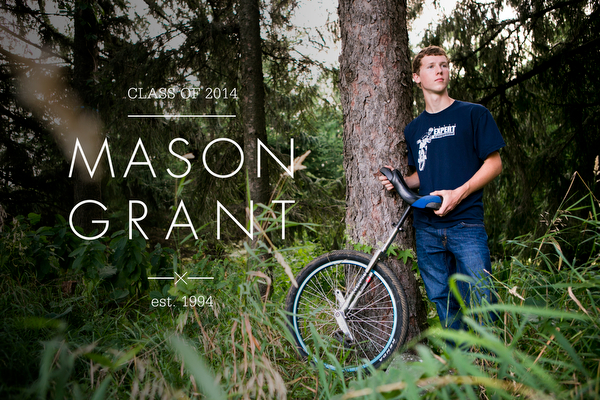
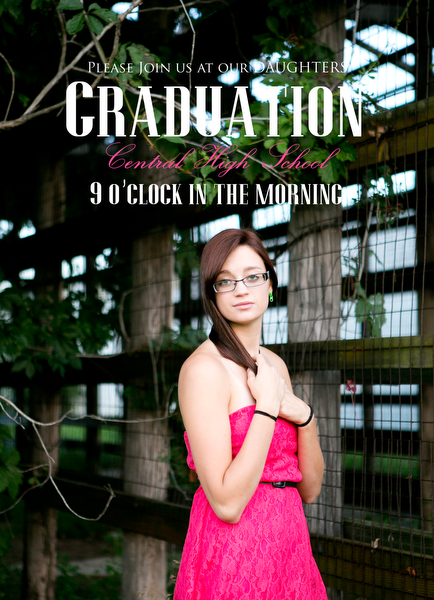
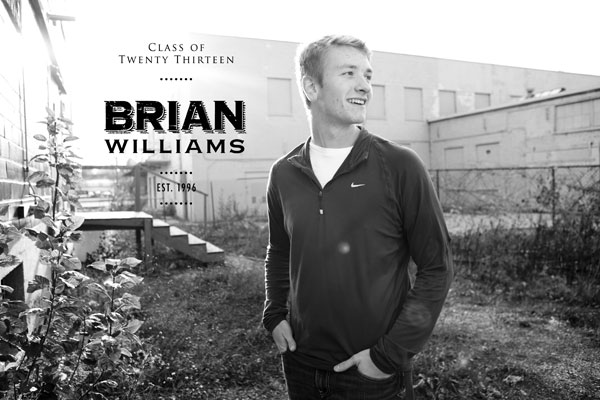
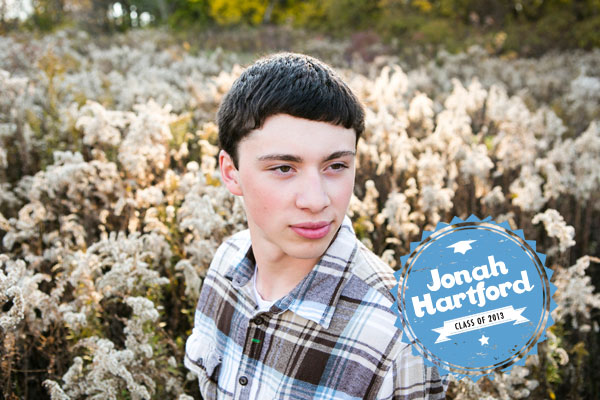
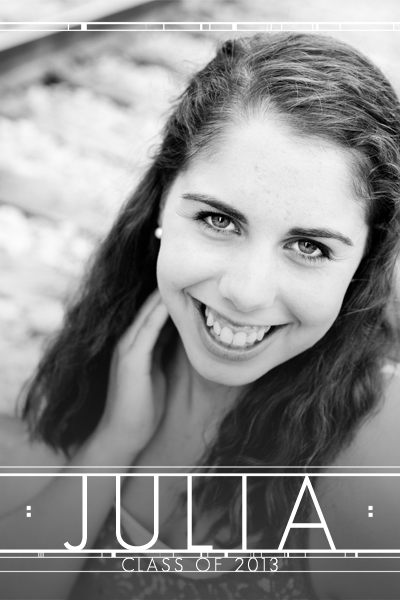
We have already had a great time taking your senior photos, but now it’s time to start thinking about graduation announcements. Don’t see anything you love in the samples below? Let me know and we can work together to come up with a personalized announcement that includes your senior portrait! If you are interested please send me an email and we can talk about any questions you have. Email: beth@bethskogen.com
Flat and folded cards come in packs of 25 and include either white or parchment envelopes. Choose from two paper stocks – matte or watercolor (watercolor has a slight dimpled texture). Note that most of the samples below only show one side of the template.
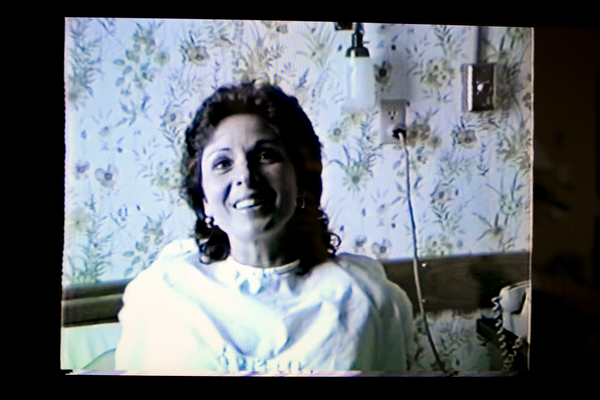
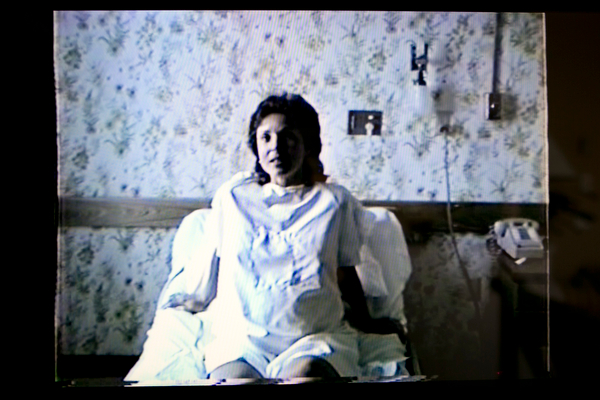
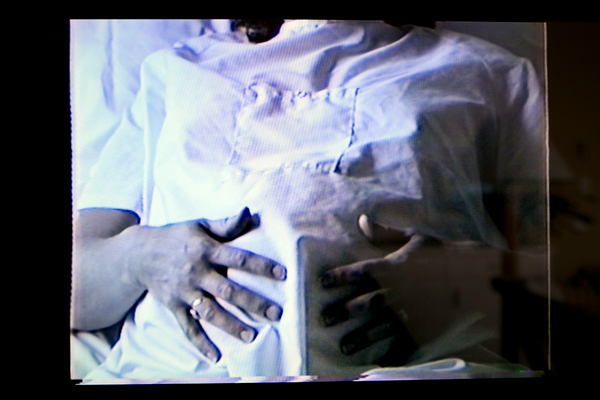
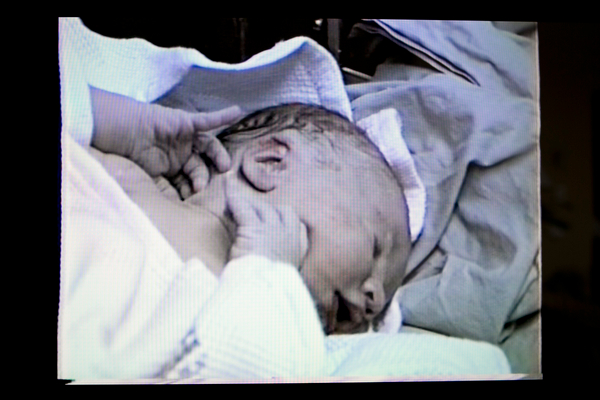
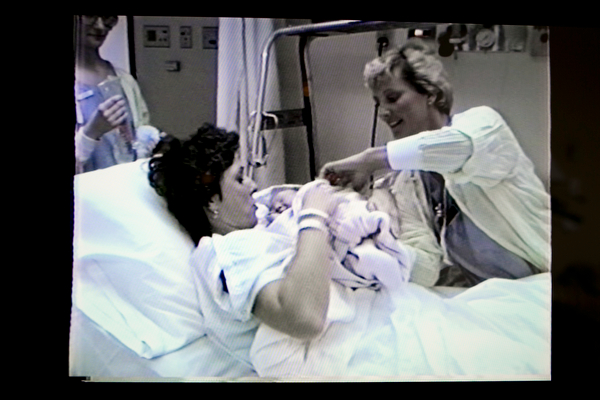
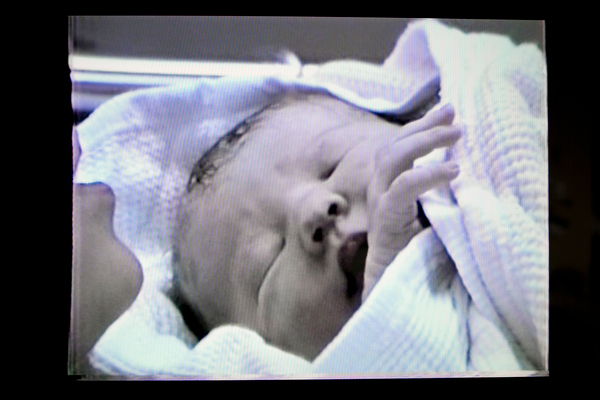
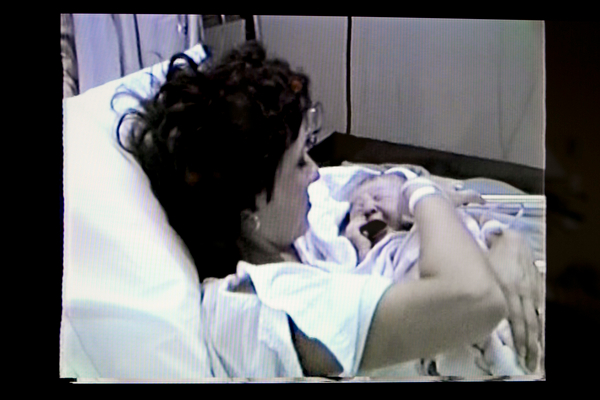
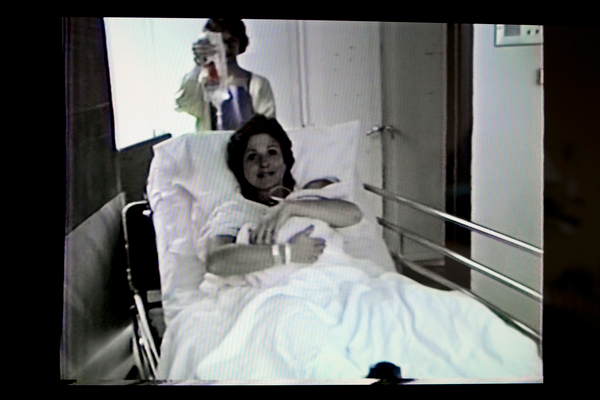
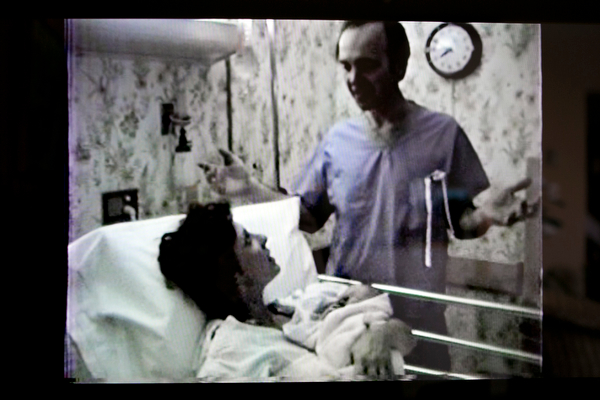
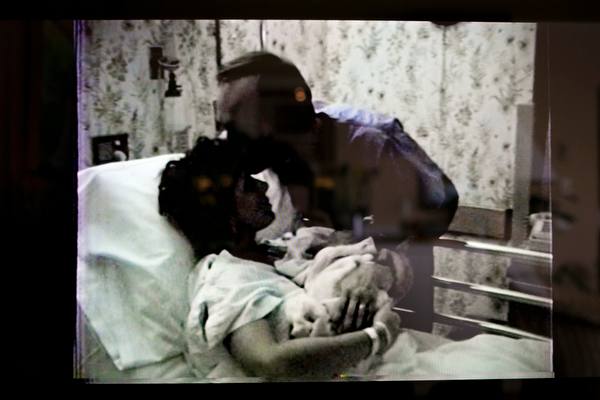
It was a snowy February morning. Judy and Dennis were off to Madison General Hospital. It was not just another day for this couple; it was their second wedding anniversary and now it would likely be the day they would welcome their baby into the world. Judy and Dennis didn’t anticipate they would be celebrating their anniversary in a labor and delivery suite; Judy wasn’t due for another week. The hours leading up to the birth of their daughter were filled with laughter, nervous chatter and contemplation if they were going to have a boy or a girl. Judy was fairly certain they were going to have a boy and questioned the nurses on why they kept referring to the baby as a ‘him.’ The nurse assured Judy that they did not know the sex and it was how they referred to all babies. Judy and Dennis went back and forth with name suggestions…Derek, Erick, Chris. “Wait, what if it’s a girl,” questioned Dennis. “Well, do you like Elizabeth? I do. Elizabeth Jane; Elizabeth Marie; Elizabeth May…,” Judy trailed off. Judy kept her composure and even managed to look put together and gorgeous hours into her all natural labor. In the midst of their anxious chit chat Judy approached one of the nurses and asked if a nurse would be able or willing to take a picture or two immediately after the baby was born. The nurse obliged and Judy accepted with one condition, “don’t take pictures of anything gross, just the baby.” The time came and Judy was fully dilated and it was time to meet baby. But first things first, Judy and Dennis had to recap their backgammon score. Dennis was winning three to one and he was quite pleased. Off they went to deliver their little bundle of joy. A couple hours later Judy and Dennis were in the recovery room and oogling over their new baby girl. “Are you happy?” Judy asked Dennis. “Oh yes. Isn’t she neat?” Dennis replied as he stared lovingly at his new baby girl, Elizabeth.
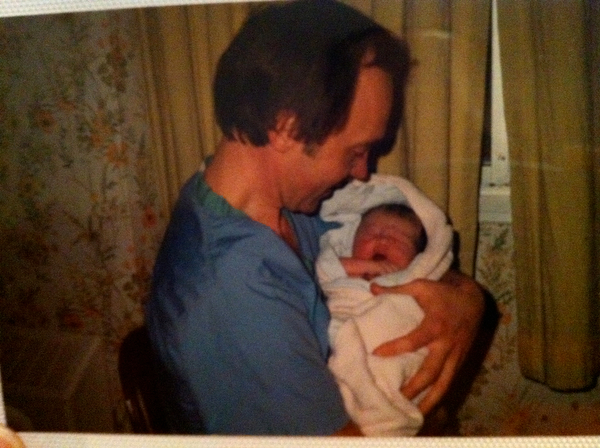
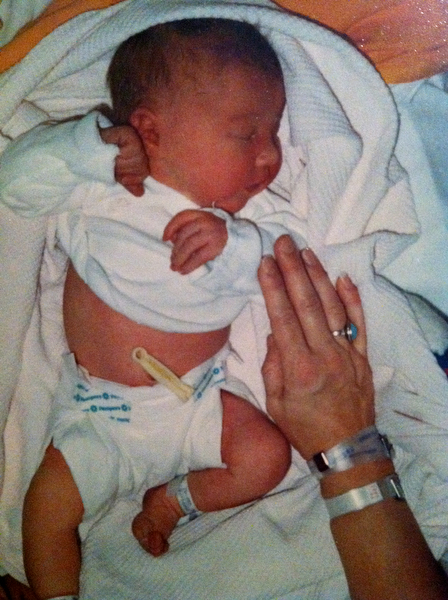
This story recounts the day my parents welcomed me into the world. I was born on February 19; my parents anniversary. Admittedly my parents did not want their child to be born on their anniversary, but say now they couldn’t imagine it any other way. This Christmas my parents gave me several home movies that they transferred to DVD. I watched the videos for hours and I was so overwhelmed and overjoyed when I came across the video of the day I was born. It was so surreal to see my parents as they anticipated my arrival. As a birth and documentary photographer it was so special to hear them discuss the details just as I hear the parents of babies I photograph today. Not to mention, to see the connection and special conversations between my parents. Sometimes it is crazy to imagine your parents as people without kids; anticipating your arrival and anxiously chatting about what is to come. It is so important to document our lives so that they can be past down to our loved ones. Not just births, but other important milestones in your life or the little details of every day that turn into the important memories. In the coming year, make it a priority to document the details of your life and do what you can so that the important times in our lives can one day inspire and enlighten those who you love.
A few stills from the video: Two photographs I found:
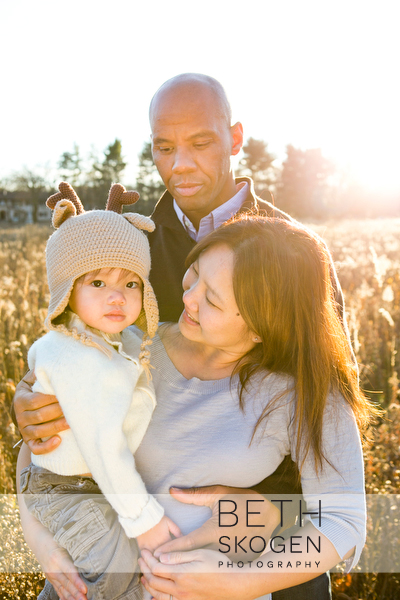
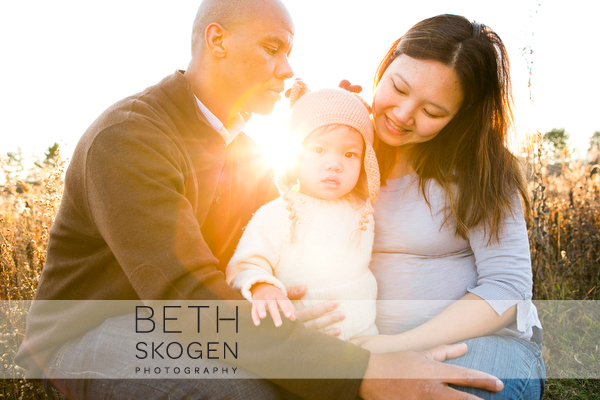
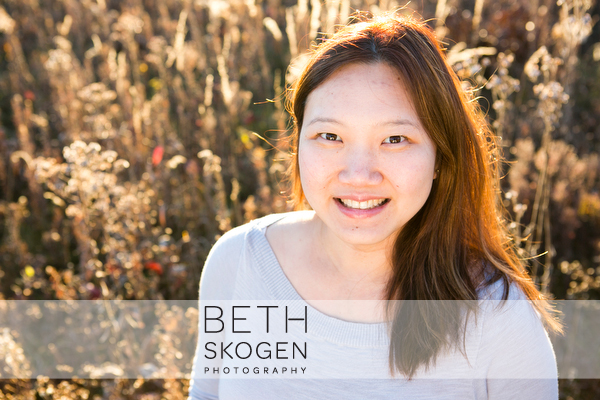
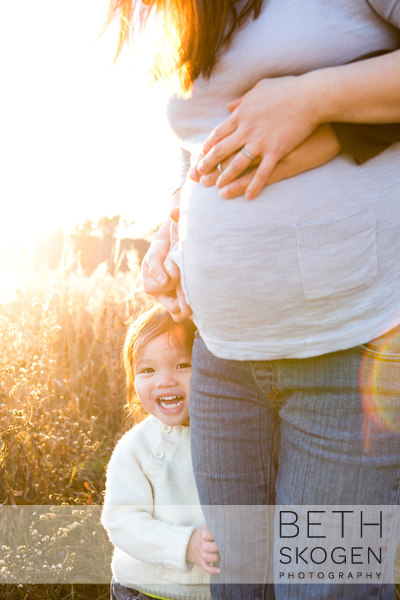
I photographed the birth of this family’s first child two years ago. We managed to squeeze in a quick maternity shoot before their little girl came two weeks early. What a cutie!!
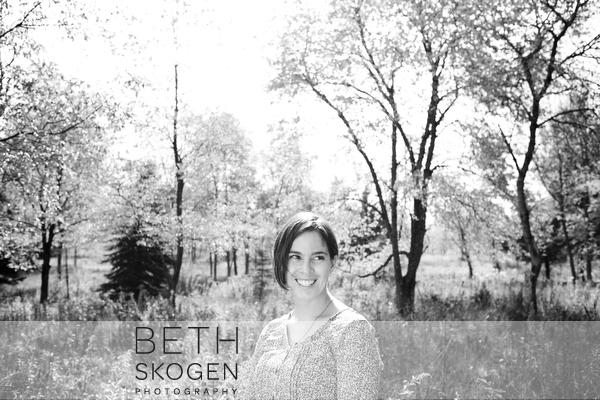
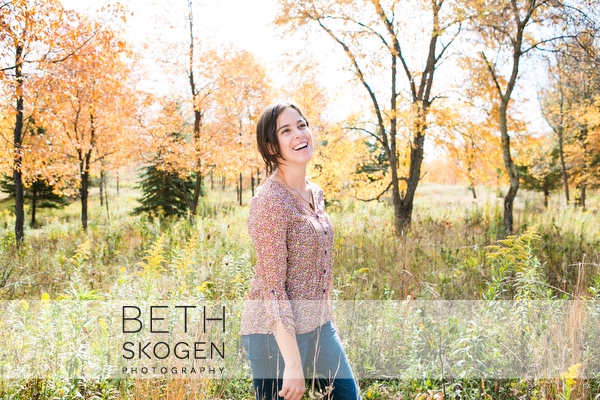
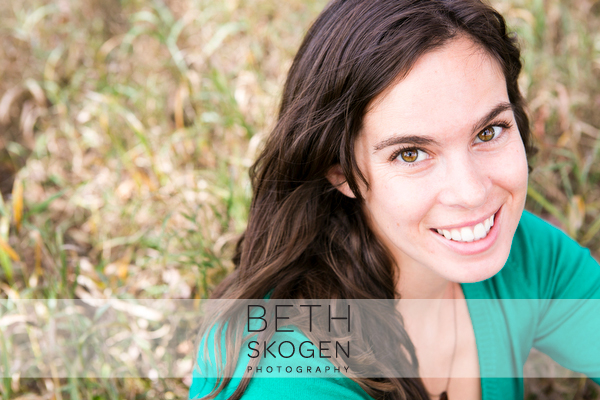
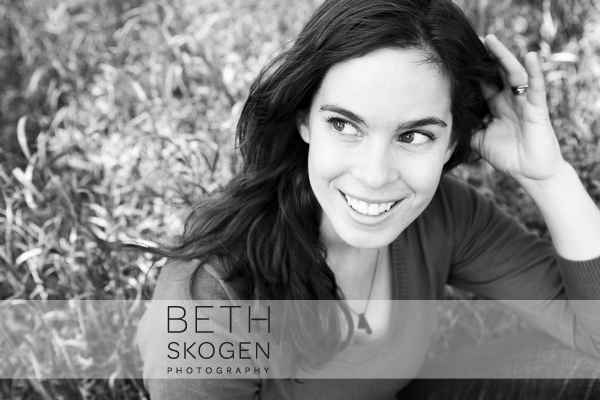
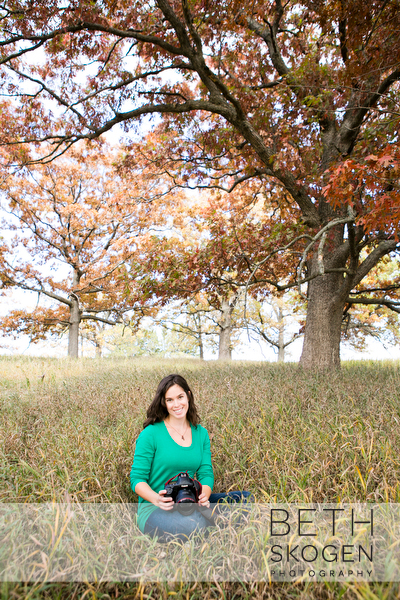
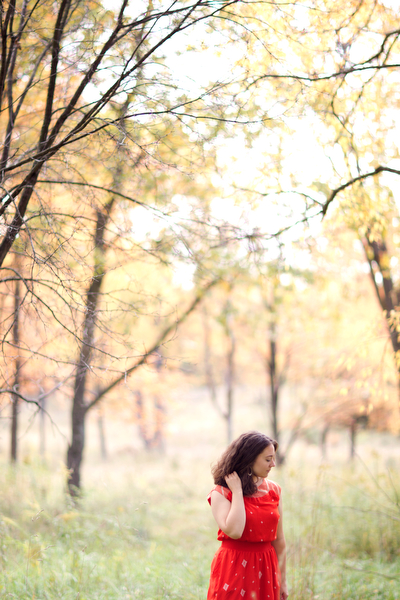
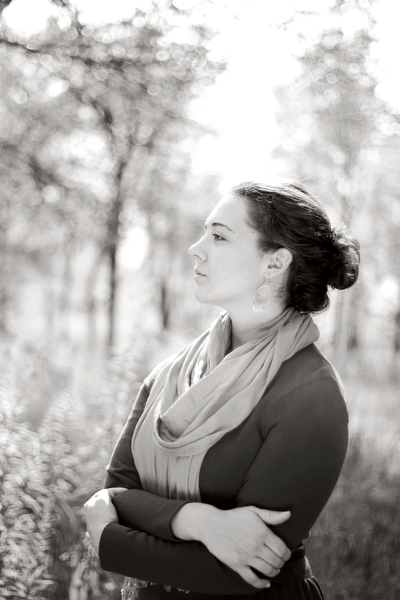
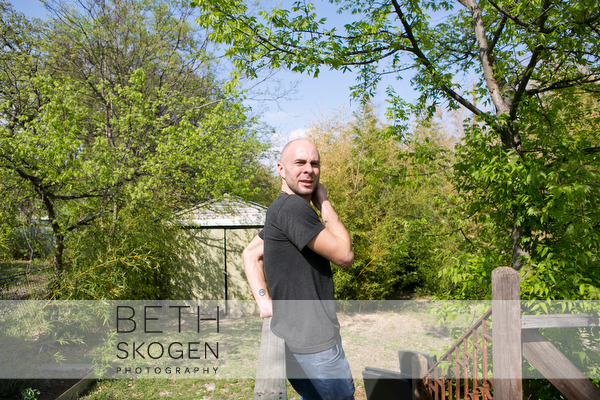
This shoot was a blast! Photographers rarely get their picture taken since we’re always behind the lens. Laura and I go way back. She hired me at our college newspaper, The Daily Iowan, back in 2006 when she was the photo editor! She now works at the newspaper in Marshfield. Back in October, she came came down to Madison for the day so we could photograph each other! Fun to see how we shot in the same space. http://lauraschmittphotography.com/


 Two photographs I found: